Getting Started:
• Step 1: Log In
To develop assignments, courses, and sections, you first must log into the BRI website at www.mybri.org. Just click the “Login” button in the upper-right corner. You will be prompted to sign in with existing credentials or create a new account.

Step 2: Accessing the Educator Landing Page
Once you are logged in, click your initials in the upper-right portion of the web page, and you will be taken to the Educator Portal.

It will look like this:

Step 3: Creating Assignments
Your next step is to create assignments. Once you have created assignments, you can add them to courses and sections.
- On the Educator Portal, just scroll down to “My Assignments” and click on the box

- Click on “Create Assignment Template”

- Select a playlist curated by the Bill of Rights Institute and add it to an assignment.
Just click “Browse BRI Playlists in the Resource Library.”

- Click the plus icon button in the upper-right corner of the playlist. Then click add to Assignment.

- If you want to review a playlist first, you can simply click on the playlist, review the resources, and add to an assignment at that point.

- Click “Create New” in the bottom-right corner.

- Fill in the assignment parameters and save.

Congratulations! You have just created an assignment.

Step 4: Creating Courses
Now that you have created an assignment, you can create a course and add the assignment to it.
- Return to the educator landing page (click your initials in the upper-right corner of the website), scroll to “My Courses,” and click on the box.

- Now Click on Create Course.

- Select the assignments you want to add.

- Enter all pertinent course details and save.

That’s it! You have just created a course with assignments.

Step 5: Creating Sections
You have now created a course with assignments attached to it. If you have multiple sections of the same course (such as first period, fourth period, etc.) you can create customizable sections.
- Return to the educator landing page, find “My Sections,” and click on the box.

- Next, click on “Create Section.”

- You will now see the courses you have created, and you can select the course you want to build a section for.

- Once you select a course, you will see the assignments attached to it. You have the option to remove certain assignments from particular course sections if you choose.

- Next, you can add start dates and due dates for assignments.

- Finally, add the pertinent information for the section, such as section name (i.e., Middle School History, First Period) and start and end dates for the class.
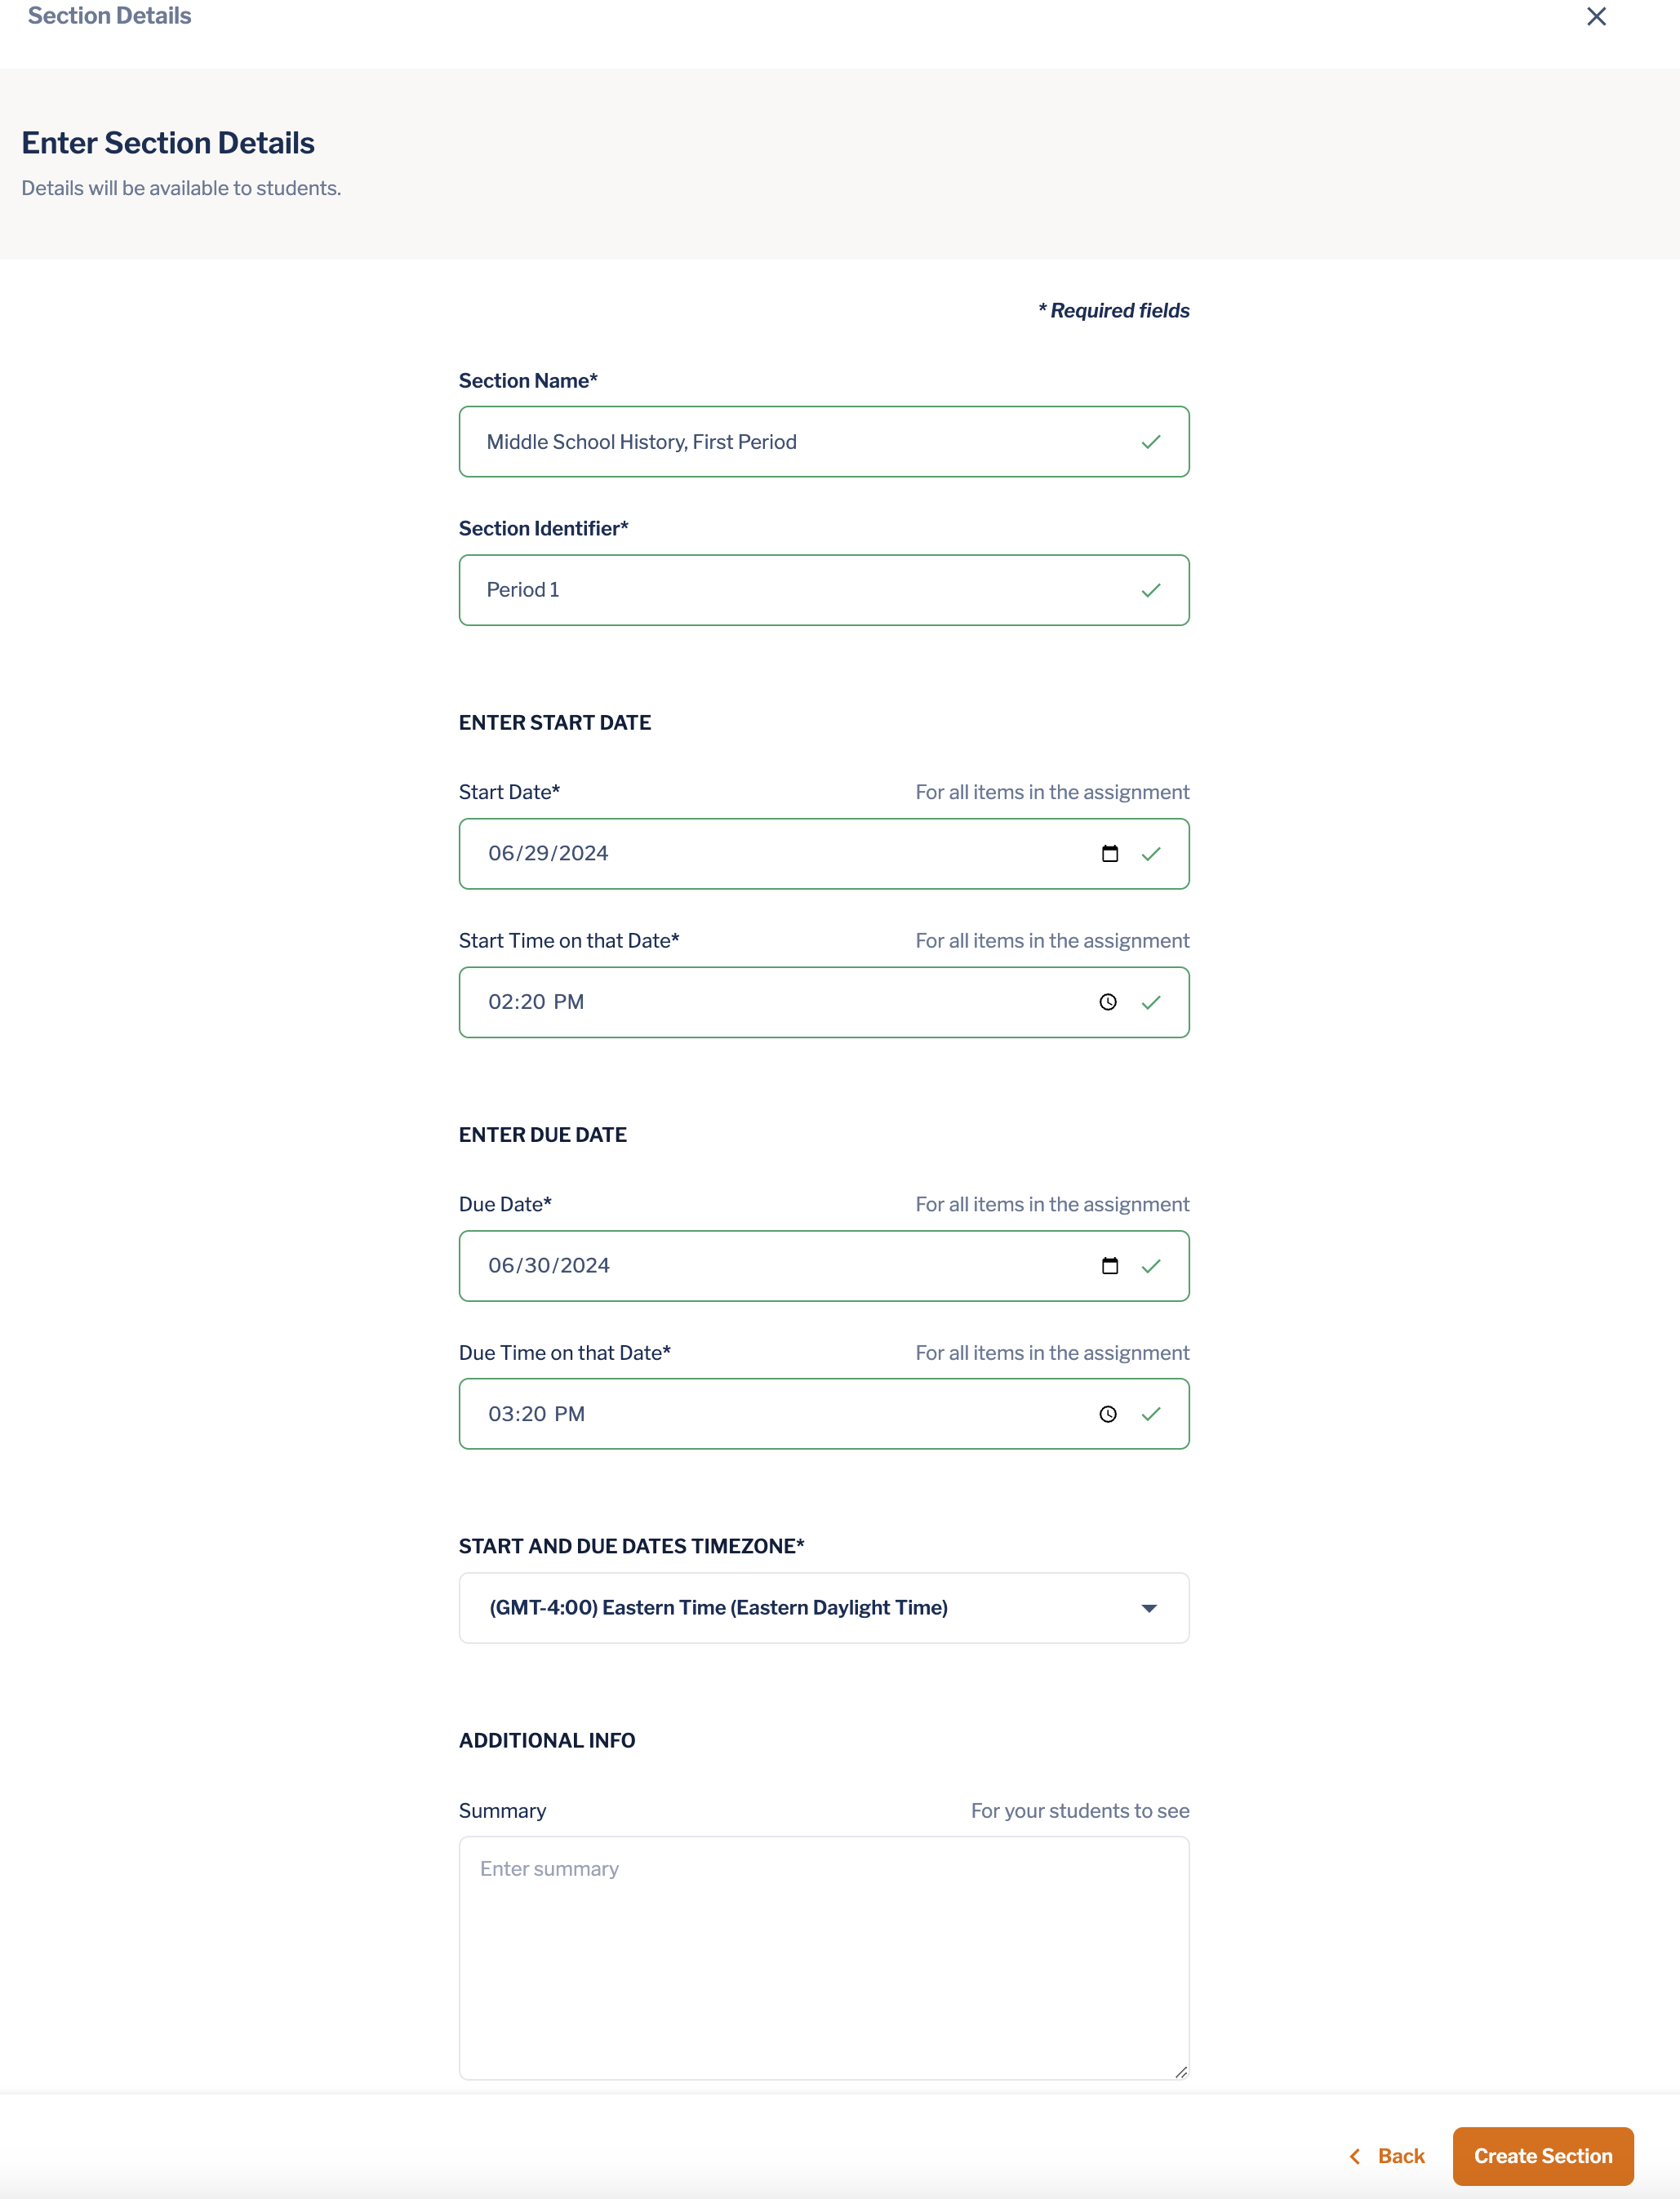
- Click “Create Section,” and you’re finished! You have now created a course section with assignments and due dates attached.


 Video
Video
